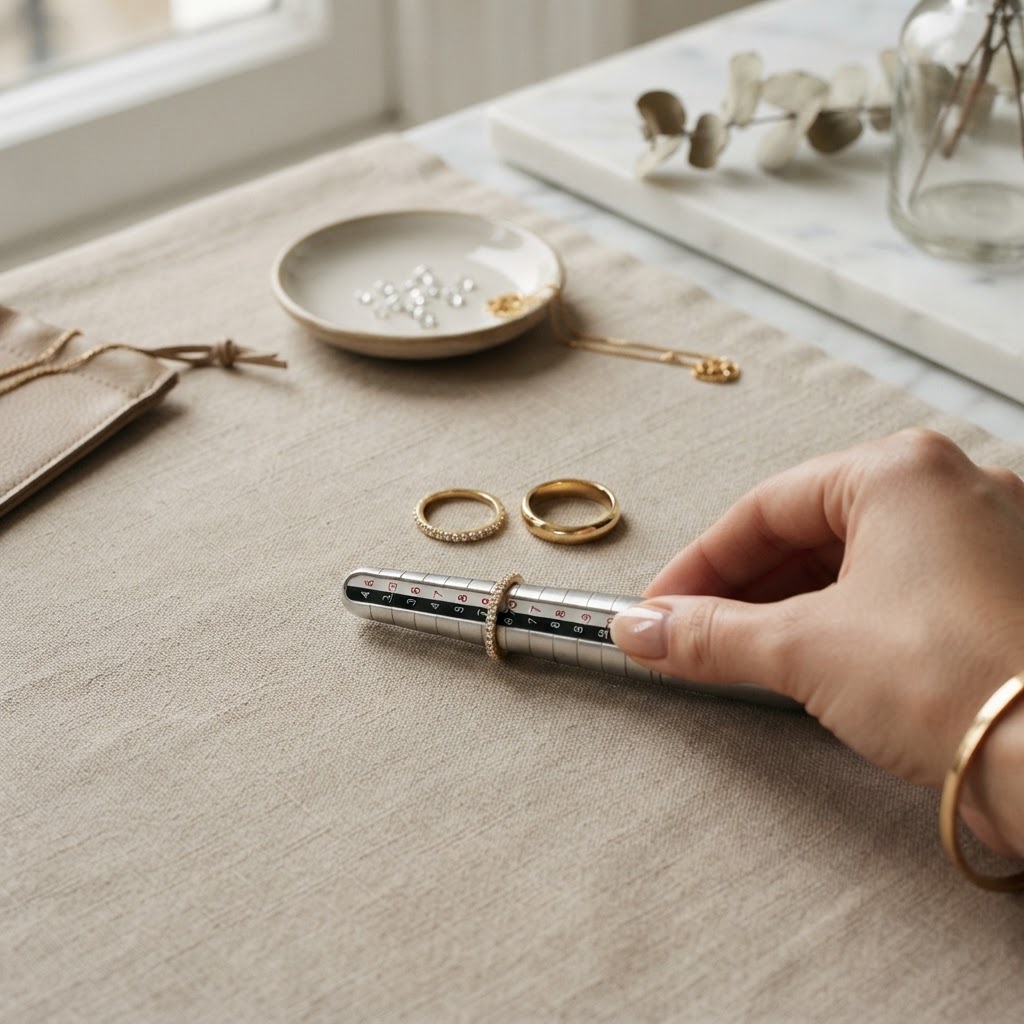
How to Measure Ring Size With an Existing Ring or Sizer
A reliable ring-size check uses a measurement, not a guess. To learn how to measure ring size at home, measure the inside diameter of a ring that...
A reliable ring-size check uses a measurement, not a guess. To learn how to measure ring size at home, measure the inside diameter of a ring that fits, or measure your finger’s circumference with a ring sizer or a strip of paper. In the UK, ring sizes use an alphabetical scale with half sizes.
To learn how to measure ring size, start with a ring that already fits: it should pass over the knuckle and sit securely at the finger’s base. Measure carefully, then compare the result with a UK size chart to find the closest fit.
This guide explains how to measure an existing ring or your finger, use a printable guide or ring sizer, and compare results with sizing charts. You’ll also learn how to account for a larger knuckle and record a useful measurement before choosing a ring.
Key Takeaways
- Measure your finger at its base with a flexible tape or string, then note where the ends meet.
- For an existing ring, measure straight across the inside at its widest point.
- Print a sizing guide at 100% scale and check its calibration before comparing your ring.
- Use a UK chart to match your measurement to the alphabetical scale, including half sizes.
- Compare international charts carefully, as sizing systems use different measurements and conventions.
How do you determine your ring size?
To work out how to measure ring size, compare your finger’s circumference with a UK ring-size chart. Repeat the measurement until you get a consistent result, then use that figure to identify the closest size.
-
Account for cold fingers
Measure when your hands feel comfortably warm, not just after being outdoors in cold weather. Cold can make fingers contract, so the reading may be smaller than your usual size.
Wait until your hands return to a comfortable temperature before wrapping string or paper around your finger. Avoid measuring straight after activity that leaves your fingers unusually warm or swollen. For an engagement ring, aim for a reading that reflects your usual fit.
-
Measure with a flexible tape or string
Wrap a flexible tape around the base of the finger where the ring will sit. Keep it against the skin without pressing into it. With string, mark where the ends meet, then lay it flat beside a ruler.
Read the length in millimetres to find your finger’s circumference. Keep the string straight, with no slack or overlap, as either can alter the result. The ring must also pass over the knuckle, so check that the loop moves over it comfortably.
-
Measure with a paper strip
Cut a narrow strip of paper and wrap it around the base of your finger, keeping the edges level. Mark where the paper overlaps, remove it, then measure from the end to the mark in millimetres.
Keep the strip snug, but don’t pull it tight or let it twist. Paper is less flexible than string, so a wide strip or uneven overlap can distort the result. Repeat with a fresh strip if the mark is unclear or the paper creases.
-
Use your own finger to estimate a size
If you’re estimating someone else’s size, use their ring on your finger only as a rough reference. Slide it down until it stops and note where it sits. This gives you a point to compare with a ring sizer, but it doesn’t establish the wearer’s size.
-
Measure with a ring sizer
Place a ring sizer around the finger you want to measure and adjust it until it sits securely. It should pass over the knuckle with slight resistance, then rest comfortably at the base without pinching or slipping off.
Read the size shown on the sizer and note which finger you measured. A sizer measures circumference, making it useful for comparison with a UK chart. If the ring must pass over a larger knuckle, account for that when assessing the final fit.
Measuring the interior diameter of an existing ring
Use a ring that fits the intended finger comfortably. Measure its inside diameter, or calculate the diameter from its inner circumference, then compare the result with a UK ring-size chart.
-
Measure the inner diameter of a fitting ring
Place the ring flat on a level surface and position a millimetre ruler across the centre. Measure from one inside edge to the opposite inside edge. Keep the ruler straight and exclude the band’s thickness.
Make sure the ruler crosses the widest part of the opening. A diagonal measurement or one taken across the outside edges will give a different result. Record the diameter in millimetres and compare it with a chart using UK alphabetical sizes.
For example, a UK size H ring has an inside diameter of 14.65 mm. This gives you a reference for checking your reading, but choose the closest chart measurement rather than treating the example as a universal fit.
Measure a ring that fits the finger you’re sizing. A ring from another finger, or one that feels too tight or loose, won’t give a useful comparison. If the band is wide, allow for its snugger feel when assessing the fit.
-
Measure string length and calculate diameter
Measure the ring’s inner circumference with non-stretching string or fine thread. Follow the inside edge around the opening, mark where the ends meet, then straighten the string beside a millimetre ruler. Keep it against the inner edge without stretching it.
Divide the measured length in millimetres by 3.14 to calculate the diameter. For example, an inner circumference of 48.38 mm divided by 3.14 gives a diameter of about 15.4 mm, matching the listed inside diameter for UK size J.
Use this calculation as a cross-check, not a replacement for careful measuring. A small error in the string’s position changes the circumference and the calculated diameter. Repeat the measurement if the mark is unclear or the string slips.
Compare the calculated diameter with a UK chart and record both measurements. If the result falls between chart entries, remeasure across the ring’s centre. A clear inside measurement helps distinguish the ring’s actual size from an estimate based on its outer width.
Tracing the ring’s inner circle offers another check: measure across the centre of the drawing to estimate the appropriate ring size.
Printable and digital ring-sizing guides
Use a guide to match a measured ring or finger to a size. Before comparing results, check the guide’s scale and sizing system.
-
Choose a printable or digital sizing guide
For a printable guide, set print scaling to 100 and use the paper dimensions stated in its instructions. Some printable ring sizers specify standard paper measuring 8.5 by 11 inches. Check any calibration mark before measuring, as incorrect scaling changes the circles and size labels.
A digital guide may ask you to place a credit card beside a ring image to verify its scale. Ring-sizing apps can display a circle for comparison. Centre the ring over the circle and compare its inside edge, not the band’s outside. If the scale looks wrong, don’t rely on the result.
-
Check UK letter sizing
Match your measurement to a UK chart, which uses an alphabetical scale with half sizes. Find the closest circumference or diameter, then read the corresponding letter. For example, each UK letter size corresponds to a different inside circumference.
Keep the UK scale separate from numerical systems used by some digital tools. A letter and a number may describe the same fit in different standards, but the labels aren’t interchangeable. For an in-store professional sizing, have the intended finger measured with a suitable ring sizer; assess how the ring sits and passes over the knuckle.
-
Use circumference-based ISO sizing
Compare your measurement with the ISO circumference scale if the guide uses international standard sizing. ISO 8653:2016 defines standard ring sizes by the ring’s inner circumference in millimetres. This gives you a direct way to match a measured circumference to an ISO size.
Check whether the chart displays circumference or diameter before selecting a result. For example, ISO size 49 has an internal diameter of 15.6 mm. Don’t compare that diameter figure directly with a circumference measurement. Match like with like, or convert the measurement using the units and labels shown on the guide.
-
Account for a larger knuckle
If your knuckle is much larger than the base of your finger, measure both points. Compare the readings and choose an in-between size as a starting point, so the ring can pass over the knuckle and sit at the base.
Try the candidate size with a ring sizer and check how it moves at both points. A size that fits the base but catches at the knuckle may be too small; one that passes easily but spins at the base may be too large. Use the closest chart size as a starting point, then assess the actual fit.
Ring size charts and international conversions
Choose a ring-size chart that matches your measurement and the country’s sizing system. Before converting sizes, check whether the chart uses circumference or diameter.
- Match the measurement type. Find your ring measurement in millimetres, then use the chart column for that same measurement, circumference or inside diameter. A circle on a chart represents the ring’s interior, so compare the ring’s inside edge, not its outside.
Choose the closest chart measurement. If your result falls between entries, remeasure before deciding; a small difference can change the size. Keep the original measurement with your selected size, especially when comparing designs listed in different sizing systems.
- Read the UK alphabetical scale. UK ring sizes use letters and half sizes. The 1987 UK ring-size standard sets each alphabetical size division at 1.25 mm of circumference. Use the circumference column to locate the nearest entry, then record the letter and any half-size shown.
For reference, UK size K corresponds to a circumference of 50.0 mm, size L to 51.2 mm, and size N to 53.8 mm. These examples help you check that you’re reading the right chart column. Don’t infer a size from a letter alone if the chart uses a different country’s scale.
- Convert North American sizes with a matching chart. US sizes typically range from 3 to 13 and include half and quarter sizes. North American whole sizes differ by 0.81 mm in internal diameter, or 2.55 mm in internal circumference. Use a conversion chart rather than estimating from the number, as the step sizes differ from the UK letter scale.
For example, US sizes 6 and 7 correspond to UK sizes L 1/2 and N 1/2. US sizes 9 and 10 correspond to UK sizes R 1/2 and T 1/2. These pairings are reference points, not a substitute for matching your measured circumference or diameter. Such conversions are particularly useful when exploring international bridal collections from designers such as Mike Nekta New York, where pieces are specified in US sizing.
- Check the country’s sizing method. French sizes 52 and 54.5 correspond to US women’s sizes 6 and 7. French sizes 60 and 62 correspond to US men’s sizes 9 and 10. In Italy, Spain and Switzerland, sizes are calculated as circumference minus 40 mm; size 10 in that system equals ISO size 50.
Germany and the Netherlands define sizes by diameter in millimetres. India, Japan and China use whole-number increments that don’t correlate linearly with diameter or circumference. Identify the country and measurement method first, then use its matching chart to select a size—a helpful step if you are exploring pieces from independent boutiques such as lamaisonfashion.co.uk that curate jewellery from French and Italian designers.
Measuring at home with a free ring sizer
A ring sizer measures your finger’s circumference and provides a size to compare with a UK chart. Follow these steps to use a free sizer consistently at home.
- Choose a sizer that shows UK sizes. Check that its markings use the UK alphabetical scale, including half sizes, rather than only US numbers. The result is useful only if the sizer and comparison chart use compatible systems. Have the chart ready before you begin.
If the tool measures circumference, note the size and units shown. If it measures a ring’s inside diameter instead, use a chart with diameter values. Don’t compare a circumference reading directly with an inside-diameter column.
- Place the sizer on the intended finger. Fit it around the finger where the ring will sit, then adjust it until it rests securely without pressing into the skin. The ring must pass over the knuckle and fit at the base, so consider both points.
Use the same hand and finger intended for the ring. A measurement from another finger isn’t a reliable substitute, because each finger can have a different circumference. Record the finger beside the reading to avoid mixing up results.
- Check the fit as the sizer moves. Slide it over the knuckle, then return it to the base of your finger. It should pass with slight resistance and sit securely without pinching. If it turns freely or slips off, the size may be too large.
If your knuckle is much larger than your finger base, measure both positions. Compare the readings and use an in-between size as a starting point. This balances passing over the knuckle with a stable fit at the base.
- Repeat and record the result. Take several readings during the same measuring session, removing and refitting the sizer each time. If the readings differ, check that it sits level and snug on the finger. Record the consistent result in UK sizing, then match it to the closest chart entry.
For a wide band, assess the fit with the intended ring width in mind. Wider bands tend to feel snugger, so a slightly larger size may be more comfortable. Keep this fit consideration separate from the raw circumference reading.
- Use the result as a practical check. Compare the sizer reading with the inside diameter of a well-fitting ring or a measured finger circumference. If both methods point to the same UK size, you have a useful reference. If they differ, repeat the measurements and check the chart units.
Jewellove: Loose Diamonds
Jewellove offers Loose Diamonds and tools to help you turn a ring-size result into a considered design choice. Use the Ring Maker to compare ring options, or try the Diamond Quiz to narrow your diamond choices.
If you’re planning a ring around a particular fit or design, Jewellove’s Bespoke Design Service can help develop the idea. Your recorded UK size provides a practical starting point for selecting or designing a ring, alongside preferences such as the setting and stone.
Contact Jewellove to explore the next step for your ring.
Move from measurement to design
Once you know how to measure ring size, use the result as a practical design detail. Consider how you’ll wear the ring and which features matter most, such as its setting, stone or overall style. A clear size record gives you a useful starting point, whether you are planning a bespoke piece or selecting everyday fashion accessories from MY STORE.
Jewellove’s Ring Maker helps you compare ring designs, while the Bespoke Design Service offers a way to develop a more individual concept. You can also explore Loose Diamonds when selecting a stone. Choose the route that best suits how clearly you’ve defined your design.
A measured size and clear preferences can make your next decision more focused. Contact Jewellove to discuss your ring-size question and possible design direction.
Take the next step when you’re ready. Your measurement can help turn a design idea into a plan.
Frequently Asked Questions
How can you measure a ring without a sizer?
Measure the ring’s inside diameter across its centre with a ruler, or compare its inner circumference with a size chart. Keep the ruler aligned across the opening, not the band’s outer edges. If measuring someone else’s ring, choose one worn on the intended finger with a similar width and style. Record the measurement in millimetres so you can use the correct chart column.
How do ring sizes work?
Ring sizes describe a ring’s internal circumference or diameter, not its overall width. The same physical fit can therefore have different labels in different countries. In the UK, sizes use letters and half sizes; other systems may use numbers or millimetres. A chart matches its stated measurement to the ring’s interior, so check the country and units before comparing sizes.
What is ring sizing?
Ring sizing means matching a finger or well-fitting ring to a standard size. A ring sizer measures finger circumference, while a ring stick measures a ring’s inner size. A jeweller can also assess where the ring sits and how it passes over the finger. These checks help distinguish a secure fit from one that feels tight or moves too freely.
How should a ring fit over the knuckle?
A well-fitting ring should pass over the knuckle with slight resistance, then sit securely at the finger’s base without pinching. If the knuckle is much larger than the base, compare measurements from both points and use an in-between size as a starting point. Sizing beads can help reduce spinning when the knuckle is substantially larger. Check that the ring feels comfortable at both positions, not just at the base.
When is the best time of day to measure ring size
Measure when your hands feel comfortably warm, avoiding times when they may be cold, unusually warm or swollen.